Member-only story

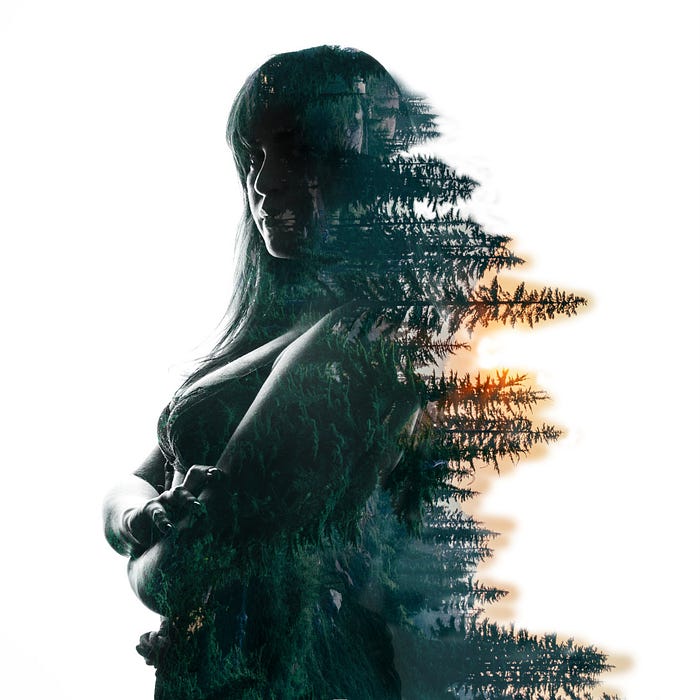
I’ll go through the steps I used to create the double exposure image you see above and hope that it will help you create your own. To begin with, for the purpose of this tutorial I have used photos from Pexels and Unsplash and the links for those are here if you want to try and follow along. Though I encourage you to take you own or use different ones for a different effect.
Model
https://www.pexels.com/photo/grayscale-photography-of-woman-1771298/
Landscape
https://unsplash.com/photos/-heLWtuAN3c
Note: I am using GIMP for this tutorial because that is what I use. I am sure that users of photoshop or other software will be able to follow along and so the same but I will not show where the settings for each tool are in photoshop. It’s simple stuff though so I’m sure you can find it.
Step 1 — The model photograph

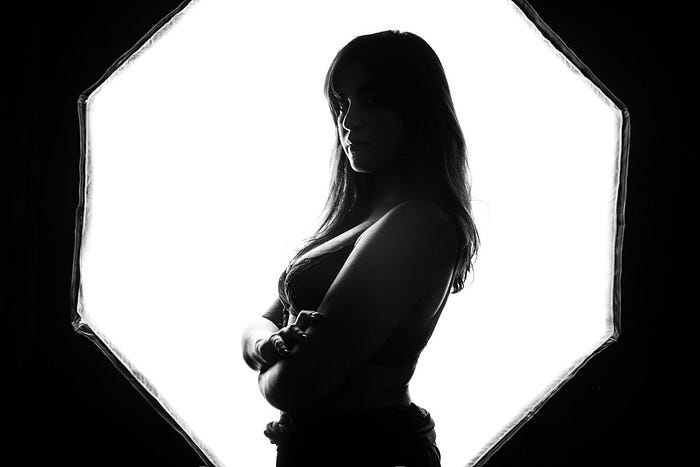
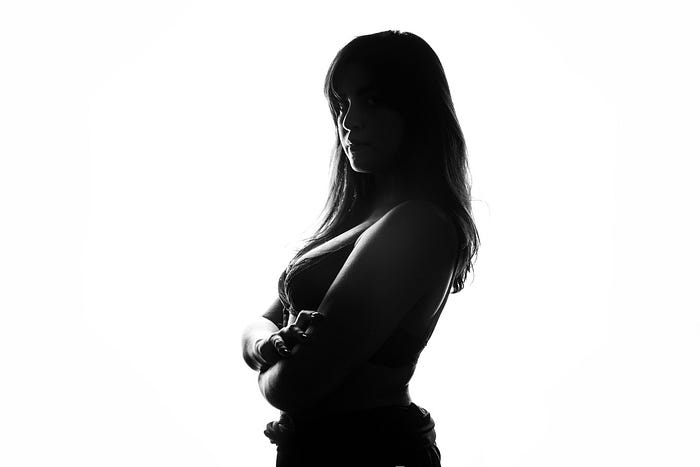
This is the photo we are starting with. To make this effect work properly you ideally want a contrasty image on a plain white background. You can either shoot like this using a white background or cut out a background to make it white.
You’ll notice here the whole background isn’t white though. That’s easy fixed, select each side and paint or fill in the black with white. You should end up with this.

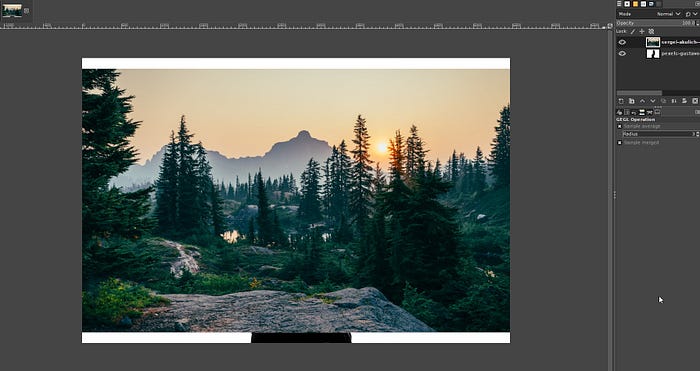
Step 2 — Open the landscape (or other) image as a layer
Open the landscape or whatever image you have decided to use as a the second exposure.

In this case, I’m going to rotate the layer so that the trees will be pointing out the back of the model. You can rotate yours to what you think is best. Try experimenting with angles. Move the layer as required but make sure it stays over the photo of the model.
